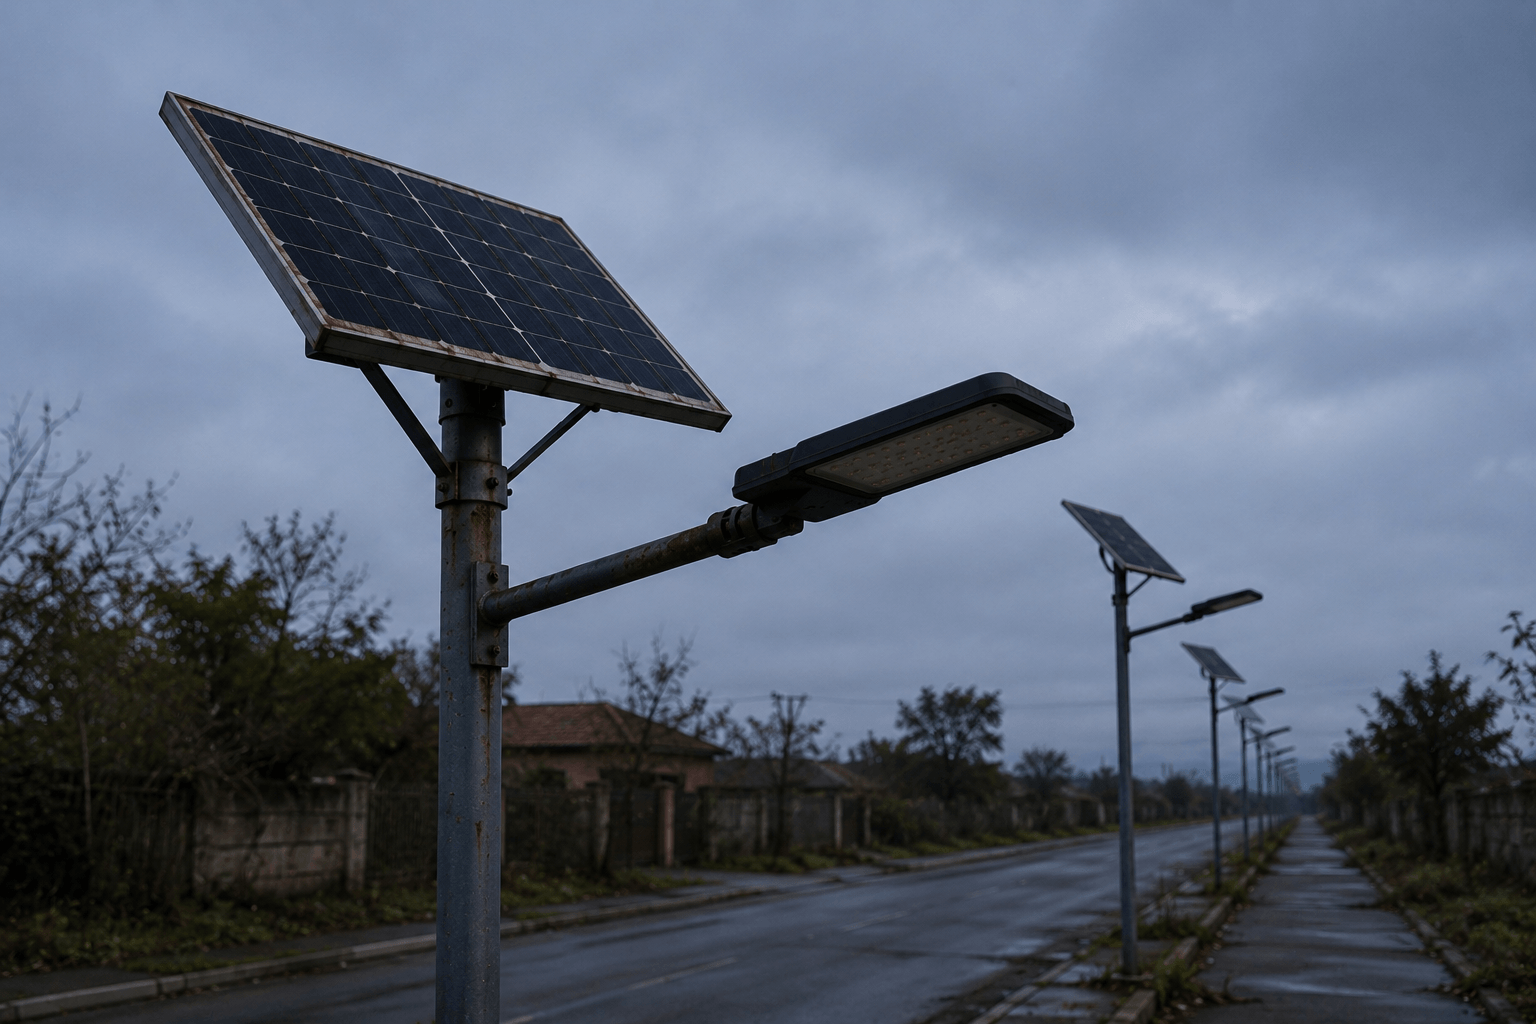
Solar lights seem like the perfect solution until they suddenly stop working. One day they’re illuminating your pathway or securing your property, and the next day they’re dark and useless. This frustrating scenario plays out millions of times each year across residential and commercial properties.
The good news is that most solar lighting failures aren’t permanent disasters. They’re actually predictable problems with straightforward solutions. Understanding why solar lights stop working is the first step toward getting them back online quickly and keeping them running longer.
Solar lighting systems fail for surprisingly common reasons. Battery degradation tops the list, followed by dirty solar panels, faulty LED components, and wiring issues. Environmental factors like extreme weather, physical damage, and improper installation also contribute to premature failures.
Most property owners assume their solar lights are dead when they go dark, but the reality is different. With the right diagnostic approach and basic troubleshooting knowledge, you can restore functionality to the majority of failed solar lights without calling in professionals or replacing entire units.
The Most Common Reasons Solar Lights Fail
Battery problems cause roughly 70% of all solar lighting failures. Solar light batteries typically last 2-4 years depending on usage patterns and environmental conditions. When batteries start failing, lights may work intermittently, produce dim illumination, or stop working entirely.
Rechargeable batteries in solar lights undergo hundreds of charge-discharge cycles annually. Each cycle gradually reduces the battery’s capacity to hold energy. Cold weather accelerates this degradation process, which explains why solar lights often fail during winter months.
Dirty or obstructed solar panels represent another major failure point. Even thin layers of dust, pollen, or debris can reduce charging efficiency by 20-40%. Complete obstructions from leaves, snow, or bird droppings can prevent charging altogether.
LED component failures, while less common than battery issues, still account for significant numbers of solar light malfunctions. LEDs can fail due to manufacturing defects, power surges from faulty charging circuits, or moisture infiltration into poorly sealed fixtures.
Battery Degradation & Replacement Solutions
Identifying battery problems requires systematic testing. Start by checking if your solar lights work immediately after being placed in direct sunlight for a full day. If they still won’t illuminate at night, the battery is likely the culprit.
Most solar lights use either NiMH (Nickel Metal Hydride) or Li-ion (Lithium-ion) rechargeable batteries. NiMH batteries are more common in budget models, while Li-ion batteries typically last longer and perform better in temperature extremes.
Replace batteries with identical specifications whenever possible. Using the wrong voltage or capacity can damage charging circuits or create safety hazards. Always match the original battery type, voltage rating, and physical dimensions.
When installing new batteries, clean the battery compartment thoroughly. Corrosion buildup can prevent proper electrical connections and lead to premature battery failure. Apply a thin layer of petroleum jelly to battery terminals to prevent future corrosion.
Solar Panel Obstruction & Cleaning Methods
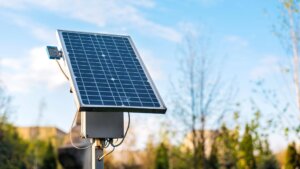
Solar panels need direct sunlight access to generate adequate charging power. Even partial shading from tree branches, building overhangs, or accumulated debris significantly reduces performance.
Regular cleaning schedules prevent most panel-related failures. Monthly cleaning works well for most environments, but properties near construction sites, heavy traffic areas, or under large trees may need weekly attention.
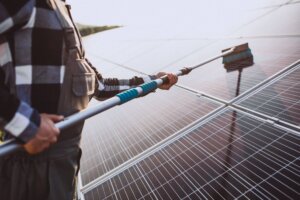
Clean panels using soft brushes, mild soap solutions, and plenty of water. Avoid abrasive cleaners or rough materials that can scratch panel surfaces. Scratched panels lose efficiency permanently and may develop electrical shorts over time.
Check for physical damage during each cleaning session. Cracked panels, loose connections, or damaged protective coverings require immediate attention to prevent complete system failure.
LED Component Diagnostics & Repair
LED failures often appear as flickering lights, color shifts, or complete darkness despite functioning batteries and clean panels. These symptoms indicate problems with LED drivers, individual LED chips, or circuit board connections.
Testing LED components requires basic electrical knowledge and a multimeter. Measure voltage across LED terminals while the system attempts to operate. Normal readings indicate the LED itself is functional, while abnormal readings suggest component failure.
Water damage frequently causes LED failures in outdoor lighting systems. Check fixture seals, gaskets, and mounting hardware for signs of moisture infiltration. Replace damaged sealing components before installing new LEDs.
Some LED problems stem from overheating due to inadequate heat dissipation. Ensure LED fixtures have proper ventilation and haven’t been painted or modified in ways that trap heat around critical components.
Wiring Problems & Connection Issues
Loose connections cause intermittent operation, reduced brightness, and complete system failures. Vibration from wind, thermal expansion and contraction, and physical impacts can loosen originally secure connections over time.
Inspect all accessible wiring connections during routine maintenance. Look for signs of corrosion, loose terminals, damaged wire insulation, or burned connection points. Address these issues immediately to prevent further system damage.
Underground wiring faces unique challenges from soil moisture, root intrusion, and ground settling. Use proper waterproof connectors and bury cables at appropriate depths to minimize damage risks.
Since 2005, SolarPath Sun Solutions has tracked wiring failure patterns across thousands of installations. We’ve found that most wiring problems develop within the first year after installation or after major weather events that stress connection points.
Environmental Factors That Damage Solar Lights
Temperature extremes stress every component in solar lighting systems. Batteries lose capacity in cold weather, while excessive heat can damage LED drivers and electronic controls. Design systems with local climate conditions in mind.
Wind loading creates mechanical stress that can loosen mounting hardware, damage wiring, and misalign solar panels. Regular inspection and maintenance of mounting systems prevent most wind-related failures.
Moisture infiltration ranks among the most destructive environmental factors. Even small amounts of water inside fixtures can cause corrosion, short circuits, and component failures. Maintain proper sealing throughout the system lifecycle.
UV radiation gradually degrades plastic components, wire insulation, and protective coatings. Select UV-resistant materials during initial installation and plan for periodic replacement of exposed components.
Professional Installation vs Common DIY Mistakes
Poor installation practices cause many premature solar lighting failures. Common mistakes include inadequate foundation preparation, improper wire routing, and failure to account for local environmental conditions.
Professional installers understand the importance of proper panel orientation, appropriate mounting heights, and adequate spacing between fixtures. These factors significantly impact system performance and longevity.
DIY installations often overlook electrical code requirements and safety standards. Non-compliant installations may work initially but fail prematurely or create safety hazards for property users.
Consider professional installation for complex systems, high-value properties, or applications where reliability is critical. The additional upfront cost often pays for itself through reduced maintenance needs and longer system life.
Diagnostic Protocols for Quick Troubleshooting
Systematic troubleshooting saves time and prevents unnecessary component replacement. Start with the most common failure points and work toward less likely causes.
Follow this diagnostic sequence when solar lights stop working:
- Clean solar panels and check for obstructions
- Test battery voltage and replace if necessary
- Inspect all visible wiring connections
- Check LED operation with a known-good power source
- Verify proper switch positions and settings
- Examine mounting hardware and fixture alignment
Document your findings during troubleshooting. This information helps identify patterns and guides future maintenance decisions. Keep records of battery replacement dates, cleaning schedules, and repair actions.
| Symptom | Most Likely Cause | Quick Test |
| No illumination | Dead battery | Check voltage with multimeter |
| Dim lighting | Dirty panel or aging battery | Clean panel, measure battery capacity |
| Intermittent operation | Loose connections | Wiggle wires while system operates |
| Short runtime | Battery degradation | Time illumination duration |
Preventive Maintenance That Extends System Life
Regular maintenance prevents most solar lighting failures and extends system lifespan significantly. Establish maintenance schedules based on local environmental conditions and system complexity.
Basic maintenance tasks include:
- Monthly panel cleaning and obstruction removal
- Quarterly connection inspection and tightening
- Annual battery testing and replacement planning
- Seasonal fixture inspection and seal maintenance
Advanced maintenance involves electrical testing, component wear analysis, and performance optimization. Property owners can handle basic tasks, while advanced maintenance typically requires professional expertise.
SolarPath Sun Solutions has developed maintenance protocols based on nearly two decades of field experience. Our data shows that properly maintained systems last 40-60% longer than neglected installations.
Advanced Repair Techniques for Complex Issues
Some solar lighting problems require advanced diagnostic skills and specialized tools. Circuit board failures, programming errors, and sensor malfunctions fall into this category.
Multimeter testing helps identify electrical faults that aren’t visible during basic inspection. Learn to measure voltage, current, and resistance at key system points. Compare readings to manufacturer specifications.
Component-level repair becomes cost-effective for expensive fixtures or large installations. Replace individual LEDs, capacitors, or circuit board components rather than entire assemblies.
When advanced repairs exceed your skill level, professional service becomes necessary. Attempting complex repairs without proper knowledge can cause additional damage or create safety hazards.
Cost-Effective Solutions for Different Budgets
Solar lighting repairs don’t always require expensive professional service or complete system replacement. Many problems have budget-friendly solutions that restore full functionality.
Battery replacement represents the most common repair expense. Generic replacement batteries often cost 50-70% less than original equipment parts while providing similar performance and lifespan.
Cleaning supplies and basic tools enable property owners to handle routine maintenance independently. A small investment in brushes, multimeters, and cleaning solutions pays dividends through reduced service calls.
| Repair Type | DIY Cost Range | Professional Cost Range | Time Required |
| Battery replacement | $5-25 per fixture | $40-80 per fixture | 30-60 minutes |
| Panel cleaning | $2-5 per fixture | $25-45 per fixture | 15-30 minutes |
| LED replacement | $8-30 per fixture | $60-120 per fixture | 45-90 minutes |
| Wiring repair | $10-40 per issue | $80-200 per issue | 60-180 minutes |
For major repairs or system upgrades, professional service often provides better long-term value despite higher upfront costs. Professionals have access to quality components, specialized tools, and warranty protection.
Get Your Solar Lights Working Again
Understanding why solar lights stop working puts you in control of your lighting system’s performance and longevity. Most failures result from predictable causes with straightforward solutions that don’t require extensive technical knowledge or expensive professional service.
The key to success lies in systematic troubleshooting, regular maintenance, and knowing when to tackle repairs yourself versus calling professionals. With proper care, solar lighting systems provide years of reliable service with minimal ongoing costs.
Don’t let failed solar lights leave your property dark and insecure. SolarPath Sun Solutions has the expertise and proven repair methodologies to get your system back online quickly. Our certified technicians understand every aspect of solar lighting technology and can solve even the most complex problems efficiently.
Ready to restore your solar lights to full functionality? Contact our experts today for professional diagnostic service and repair solutions that extend your system’s lifespan while minimizing future maintenance needs.